Showing posts with label Handmade Ornaments. Show all posts

Thursday, February 10, 2011

Snowman and Snow Girl Ornaments - "How To"

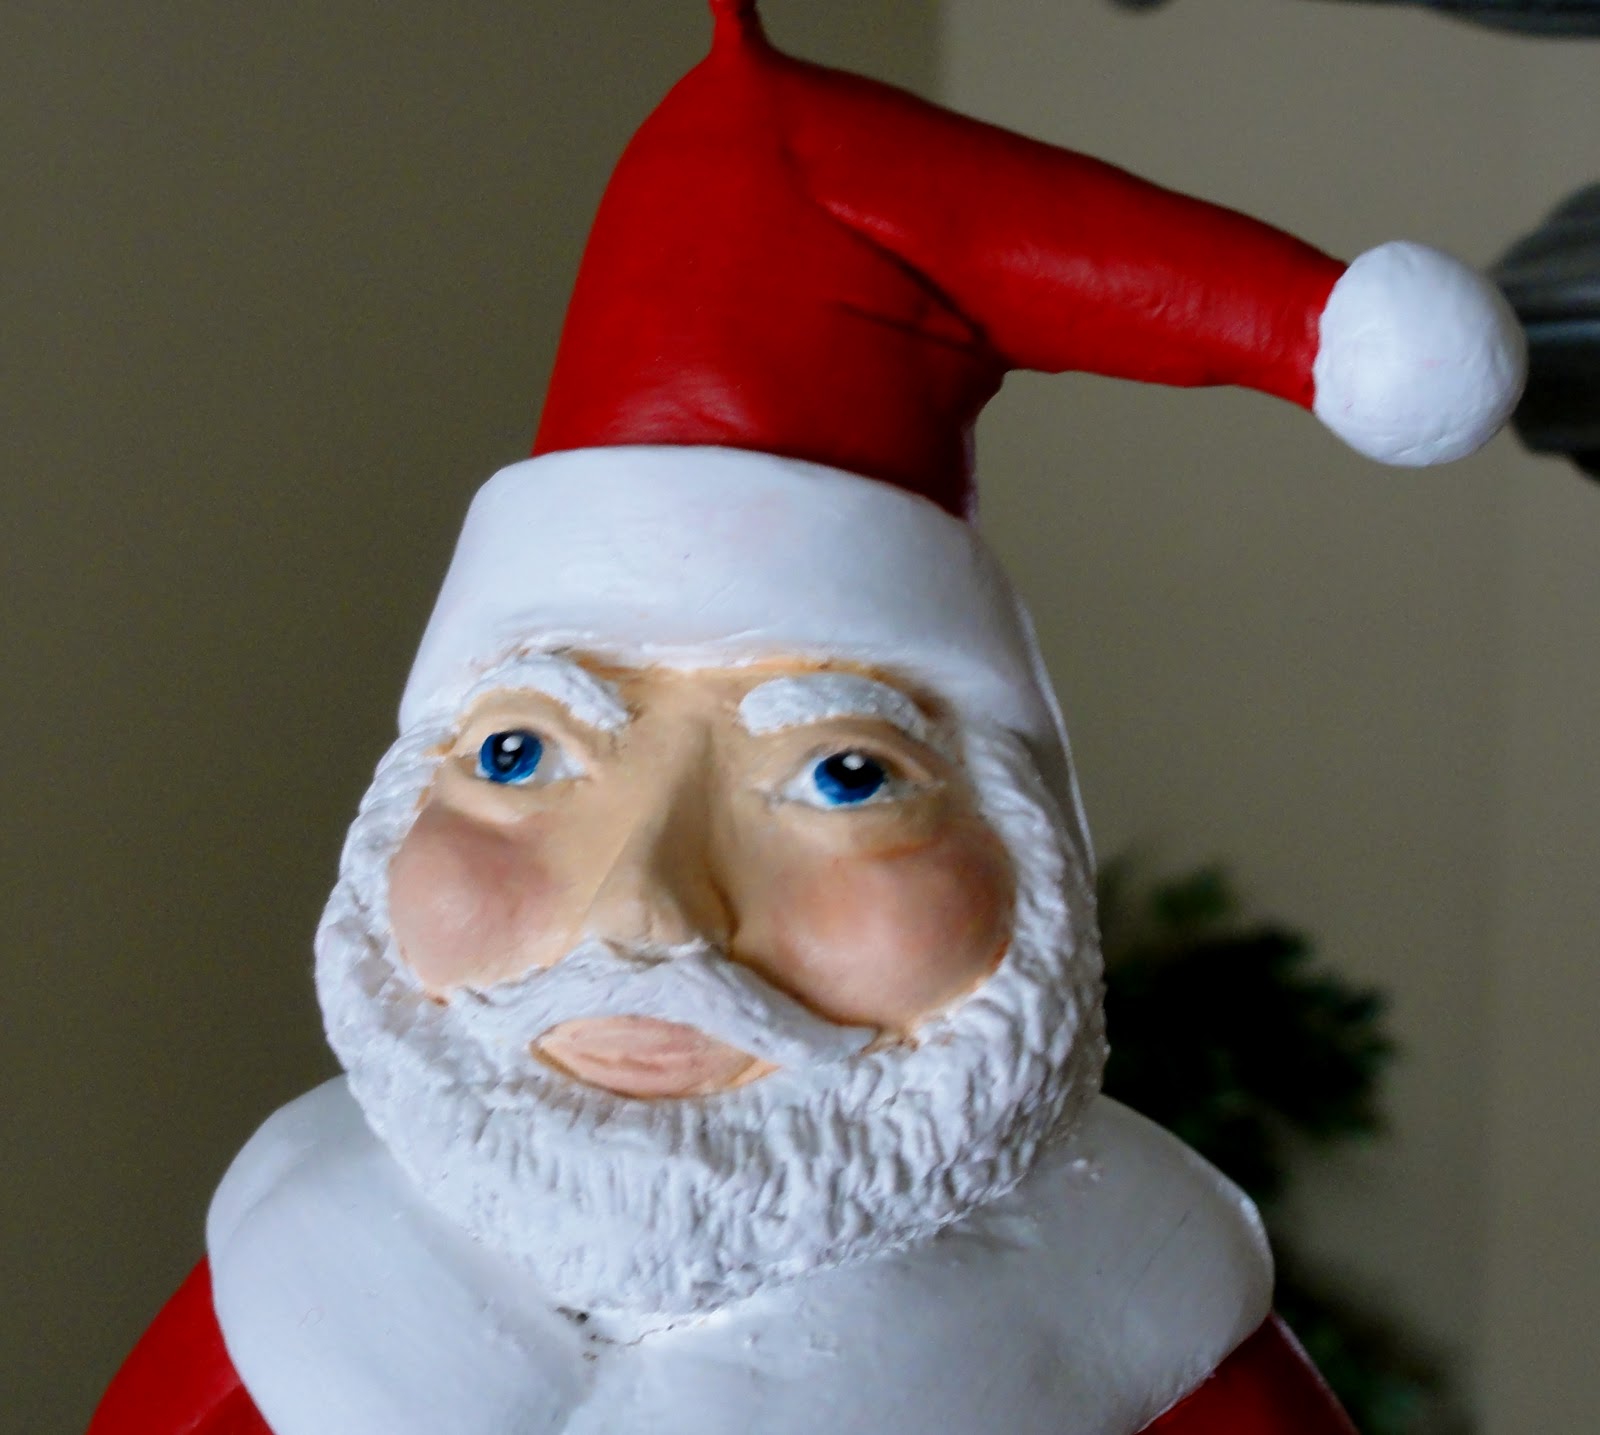
Sorry about these photos.  I realized that I forgotten to take pictures of these guys, as we were walking out the door on Christmas morning.  So I just ended up just opening the box & snapping a few quick shots.


Made this ornament for a good friend's daughter.

Here are instructions on how I made my snowman and snow girl ornaments, back in 2009.  You will have to forgive my memory, since I DID make these about a year and a half ago.  Unfortunately, I finding my memory is getting a bit fuzzy with age.
As I stated in a previous post - 
"Last year, I decided that I should try to make Christmas ornaments each year for my family members.  I was inspired by the snowman ornaments that I saw on "Michelle my Belle's" blog.  This woman is SO creative!  I just love her blog.  Since it was my first attempt at making ornaments, I decided to follow the instructions she posted for her snowman ornaments.  I thought they turned out really adorable and my family loved them."
I suggest you follow her instructions, but here are a few things that I discovered as I made my ornaments and/or ended up doing differently.
  • I placed a short piece of dowel inside of the snowman, to give the body extra strength.  It ran from his crotch area to his head.  
  • The dowel was wrapped with tin foil to form the main body, arms, legs and hat.  
  • On two of the ornaments, I used a small Styrofoam ball for the heads, since I was running low on tin foil.  After these were completed, I thought I should have trimmed the ball down some, since the heads turned out a little bit too big. *For the Snow girl ornament - I used a medium Styrofoam ball for the substructure.
  • This will be confusing, but...I would suggest embedding a separate small chuck of wood or dowel inside of the head, with an eye hook attached (for hanging).  Our first piece of dowel, that ran through his body, didn't line up with the area we needed to place an eye hook for hanging.  This second piece of wood would be added just under the tin foil, with the eye hook sticking out the top; taking into account that you will need the eye hook to stick out over the clay.  I did not do this and found it difficult to come up with a secure way to add the hook to the top of his head.  If you think about it, the top of the head really only consists of a thin layer of hardened clay with tin foil under it.  You can't really screw anything securely into that?!  We ended up using cotter pins that we purchased from The Home Depot.  They kind of resemble a heavy duty bobby pin without the waves.  
  •  
    After the ornaments were completed -
    • We drilled a hole in the head of the snowman.
    • Bent the flat ends of the pin apart/out to create tension, keeping the circle at the top tight.  The shape will look like a Tepee with a circle on top.
    • Filled the hole with glue and then gently pressed the bent out ends of the pin together.  Eased the ends through the hole, continuing pressure until they were through the hole.  Once the pin was in the hole the ends sprung out some to help secure them in place. 
  • After the substructure was completed, I used Creative Paperclay to form the snowman.
  • I highly suggest using short pieces of (thicker type) toothpick or wooden skewers to help secure the eyes and nose on the head and to give them strength.  I learned this the hard way when one or both of the eyes kept falling off my first two ornaments.  From then on, I cut off a 1/2 - 1 inch piece of toothpick or skewer, placed a small dab of glue on the end and stuck it into the head; leaving some sticking out.  Once they were secured, I formed the eyes and nose and pushed them on to the toothpicks/skewers.  Make sure you score both sides of the clay and add a dab of moisture to help adhere the clay to the head.  I'm pretty sure I actually used two short pieces of toothpick behind each eye to also help keep them from spinning. *For the skewers, I use the bamboo skewer you would use for Kabob.  You can find a huge packs of them for just a few buck at places like Walmart, etc.  I use them all the time when doing crafts.
  • I pushed a dull pencil into the clay to make the dots in the hats, the holes for the mouth and in the middle of the buttons. 
  • Once the clay was dry, I sanded the ornament with a fine grit sand paper.
  • For hanging, I used a long piece of wire. I attached one end to the eye hook, then wrapped it tightly (about 5 times) around the shaft of a med sized screw driver to create the tight curl and then formed large curls at the top by hand.
For paint -
  • I can't remember exactly, but I imagine I used a pearlized cream colored paint for the main body.
  • For the eyes, I used black, white and a pearlized lime green and light blue paints.
  • For the buttons, I used black and a pearlized purple paint.
  • After I was done painting the ornaments, I didn't add the thin layer of Golden's Interference Gold that Michelle had used.  My local craft store didn't have it and I didn't have time to run across town to the "big boy" art supply store to purchase it.  Instead, I ended up painting on a few coats of Daler Rowney's, "FW Pearlescent Liquid Acrylics" to the main body (snow part) of the ornament.  The name of the color I used was White Pearl.  FYI - This stuff is very thin in consistency; just a bit heavier than water. You can't see it in the pictures, but this really gave the ornaments a beautiful shimmer. Make sure you let them dry between coats.  
 
Here is a bad picture of my dusty, freshly shook bottle.
Here is a nicer picture of their blue color, shown on the Fine Art Store's website. See how beautiful the shimmer is?!
  • I antiqued the ornaments by using watered down acrylic paint (probably a raw or burnt umber).  I washed the paint over them lightly and then dabbed/rubbed it off.  You would continue to do this until you like the level of antiquing. I actually had to go back and dab small amounts of paint directly into the hat divots, mouth area and in the buttons, since I didn't think these areas came out dark enough.  I just dipped the tip of a toothpick into paint and dabbed a small bit in each divot. 
  • We sealed the ornaments with a few light coats of satin acrylic sealer. We found that this also brought out the shimmer of the paint.
  • Once they were dry, a scarf was cut out of red felt and added to the snowman ornaments.  *Red and white ribbon was added to the snow girl ornaments for hanging.
Blessings, Tracy

Tuesday, January 25, 2011

Santa Ornaments - Part 2

Quick overview of how I made these Santa Ornaments for my family this past Christmas.


1. We constructed the ornament's substructure with these items. The three items on the right, plus a short piece of dowel, are the beginning of the substructure; which is assembled on the left. A good base will give your ornament strength. I want these to last a long time, so this was important.
  
All supplies for this project were purchased at Michaels
  • I first cut a circle, the size of a quarter, in the bottom of the cardboard dish; discarding the lid. 
  • Drilled a hole, the size of the dowel, in the smaller thicker disk.  
  • Flipped the dish upside down, applied glue to one side of the larger disk and pushed it all the way up inside of the dish until it was firmly pressed against cardboard; it will fit snugly.
  • Applied glue to one side of the smaller disk.  Centered the disk on top (formerly the bottom) of the cardboard dish and glued down; making sure there was enough glue in the quarter sized hole to help bond the two wooden disk together. 
  •  Placed glue around the tip of dowel and pushed through hole in small disk, until it rests against larger disk.  Let all dry thoroughly.  
  • Sealed the cardboard box with Gesso, since it will be covered with damp paper clay.
  • After I took this picture, I did end up trimming the bottom of this dish a little, since it was too long for the bottom of his coat. I then applied Gesso to seal the cut end.
  • Screwed eye hooks into the bottom of dish, to use for hanging legs in future.
2. Added Styrofoam balls to make the body and head.  
  • I cut the bottom off of the larger Styrofoam ball and trimmed the sides, to make the body bell shaped. 
  • Glued bottom ball onto cardboard dish and used sections of toothpicks/thin wooden skewers to secure the head, so it wouldn't spin, on to the larger ball.
3. Used short lengths of thick (12 gauge) floral aluminum wire (very easy to bend) and tin foil to form hat's substructure (sorry don't have a picture of that). The tip and ball of the hat is the most vulnerable to breakage, so a good substructure is important. Please bear with me, this explanation may be confusing.
  • I pushed one end of a wire into the head and bent to form the angle of hat.  
  • I added two more wires to different areas of the head (3 total) and mimicked hat angle. I added a small piece of twisted up tin foil (in the shape of the hat) inside of the wires to add additional support.
  • Once the tin foil and wires were in place, I twisted and mashed the ends together tightly to form the tip of hat.  The wires will kind of resembled a bent cone or tepee.
  • I left one wire tip a little longer and curled it tightly to form a tiny ball at end of Santa's hat. 
  • I then covered the hat portion, not including ball at end, with a layer of foil. 
  • Used additional small pieces of wooden skewers, that I pushed through hat into head to help secure it and keep it from spinning.  
4. Once we determined the height of ornament, the top of dowel was trimmed.  We then drilled a starter hole in top of dowel, added a dab of glue to end of eye hook and screwed in to hole.
5. Formed Santa's main body using "Creative Paperclay", covering the top of the dowel; only leaving the eye hook visible. **See below for tip.
 Update - People have asked how I made his textured beard, mustache & eyebrows.  I added the shape of these things on his face, then lightly scratched the clay with a pin to create the hair texture. Really easy to do.
  
Leg on left in process.  Right leg completed and waiting for clay.

6. Used same 12 gauge aluminum floral wire and tin foil to make the substructure of legs. Then formed legs and boots with paper clay.  Let dry completely.
7. Sanded ornament thoroughly with fine grit sand paper.
8. Sealed ornament with Gesso and let dry.  This is needed, since the paper clay is very porous.
9. Painted ornament and let dry thoroughly.
10. I signed and wrote the year on the inside (were legs hang from) of each ornament.  
11. Applied 3 light coats of satin acrylic protective spray finish; letting dry completely between coats.
12. Attached ribbon to the top eye hook for hanging.

** TIP - For the last three Santa ornaments, I finished the top of the Santa ornaments completely (formed body with clay, let dry, sanded, painted and signed) and then covered the whole ornament with plastic wrap; poking the leg eye hooks through the plastic. I then started the legs.  Once the legs were finished (substructure built, legs formed with clay, legs dried, sanded, painted and thoroughly dried), I ripped the plastic off and sealed the ornament with acrylic spray.  I learned from the first three ornaments that those darn dangling legs were impossible to work around.  They REALLY got in the way while painting, scuffing and transferring paint from the legs to the main body and back.  This added TONS of touch up time to each ornament and made me pull out at least a few fistfuls of hair from the utter frustration.

I originally wanted to antique these ornaments, to bring out the facial features and the creases in his hat and coat.  I unfortunately ran out of time though; barely finishing them up on Christmas morning.  I really wish I would have had time to antiques them, since I think it would have given them more depth and character.

Here are pictures of the last 3 Santa's I made, before I added the top ribbon.
My favorite Santa


 Santa #2

Santa #3 (a.k.a. - "The Big Faced Santa") on left

I made 6 of these ornaments.  You can see the first three Santa ornaments, with hanging ribbon, in this post.  Sorry to say there is only 3 or 4 pictures in this post, but you can see how my technique improved as I made each one.  By the time I made the last one, "my favorite Santa" (shown above), I really had the process and Santa's look down pat.  It really was a learning process.

Blessings, Tracy

Saturday, December 25, 2010

Santa Ornaments with Dangling Legs...Finished!

Here are a few of my finished Santa ornaments; waiting to go live their new lives with my family members. Each one is a little different from the next; some fatter, some have bigger beards, hands in different positions, etc.  I was in such a hurry on Christmas morning, I didn't get a chance to take many pictures of them.   I thought they turned out pretty cute and my family loved them.  I'll try to post more on them later.

**You can see Santa's humble beings here or brief instructions for these ornaments here.
Blessings, Tracy