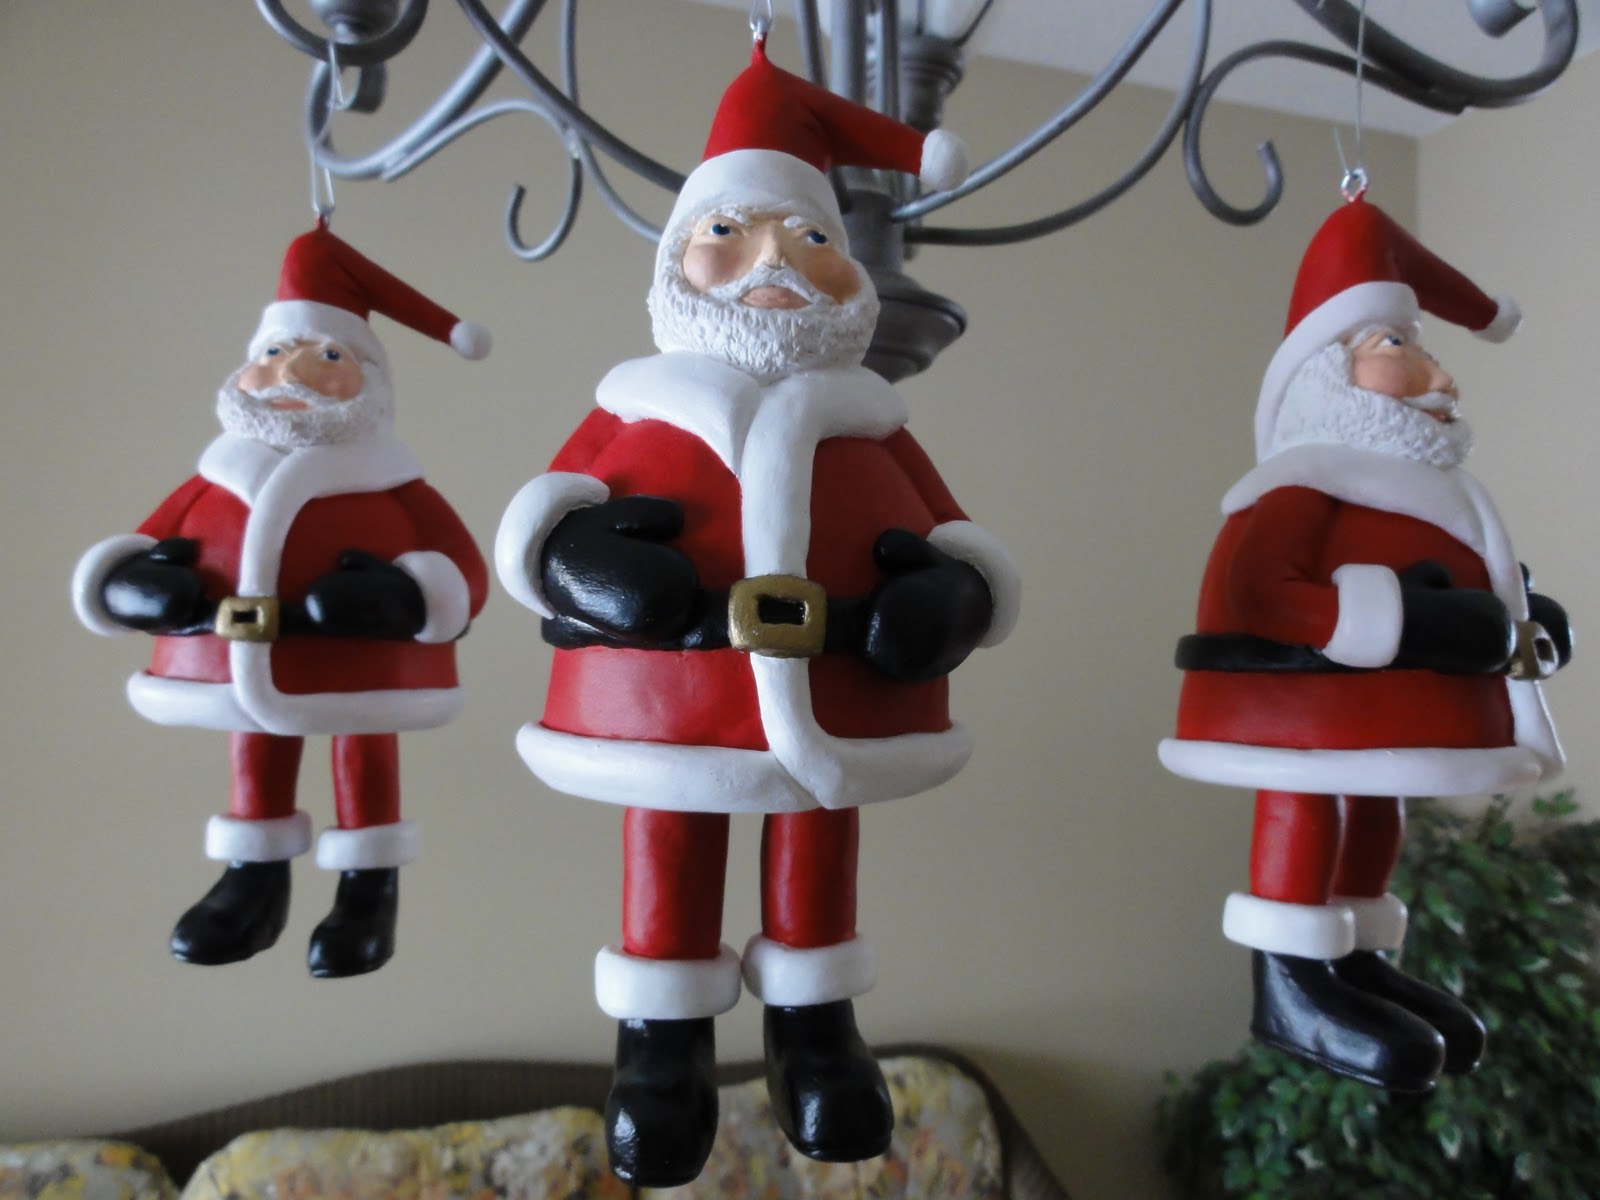
Quick overview of how I made these Santa Ornaments for my family this past Christmas.
1. We constructed the ornament's substructure with these items. The three items on the right, plus a short piece of dowel, are the beginning of the substructure; which is assembled on the left. A good base will give your ornament strength. I want these to last a long time, so this was important.
All supplies for this project were purchased at Michaels
- I first cut a circle, the size of a quarter, in the bottom of the cardboard dish; discarding the lid.
- Drilled a hole, the size of the dowel, in the smaller thicker disk.
- Flipped the dish upside down, applied glue to one side of the larger disk and pushed it all the way up inside of the dish until it was firmly pressed against cardboard; it will fit snugly.
- Applied glue to one side of the smaller disk. Centered the disk on top (formerly the bottom) of the cardboard dish and glued down; making sure there was enough glue in the quarter sized hole to help bond the two wooden disk together.
- Placed glue around the tip of dowel and pushed through hole in small disk, until it rests against larger disk. Let all dry thoroughly.
- Sealed the cardboard box with Gesso, since it will be covered with damp paper clay.
- After I took this picture, I did end up trimming the bottom of this dish a little, since it was too long for the bottom of his coat. I then applied Gesso to seal the cut end.
- Screwed eye hooks into the bottom of dish, to use for hanging legs in future.
2. Added Styrofoam balls to make the body and head.

- I cut the bottom off of the larger Styrofoam ball and trimmed the sides, to make the body bell shaped.
- Glued bottom ball onto cardboard dish and used sections of toothpicks/thin wooden skewers to secure the head, so it wouldn't spin, on to the larger ball.
3. Used short lengths of thick (12 gauge) floral aluminum wire (very easy to bend) and tin foil to form hat's substructure (sorry don't have a picture of that). The tip and ball of the hat is the most vulnerable to breakage, so a good substructure is important. Please bear with me, this explanation may be confusing.
- I pushed one end of a wire into the head and bent to form the angle of hat.
- I added two more wires to different areas of the head (3 total) and mimicked hat angle. I added a small piece of twisted up tin foil (in the shape of the hat) inside of the wires to add additional support.
- Once the tin foil and wires were in place, I twisted and mashed the ends together tightly to form the tip of hat. The wires will kind of resembled a bent cone or tepee.
- I left one wire tip a little longer and curled it tightly to form a tiny ball at end of Santa's hat.
- I then covered the hat portion, not including ball at end, with a layer of foil.
- Used additional small pieces of wooden skewers, that I pushed through hat into head to help secure it and keep it from spinning.
4. Once we determined the height of ornament, the top of dowel was trimmed. We then drilled a starter hole in top of dowel, added a dab of glue to end of eye hook and screwed in to hole.
5. Formed Santa's main body using "Creative Paperclay", covering the top of the dowel; only leaving the eye hook visible. **See below for tip.
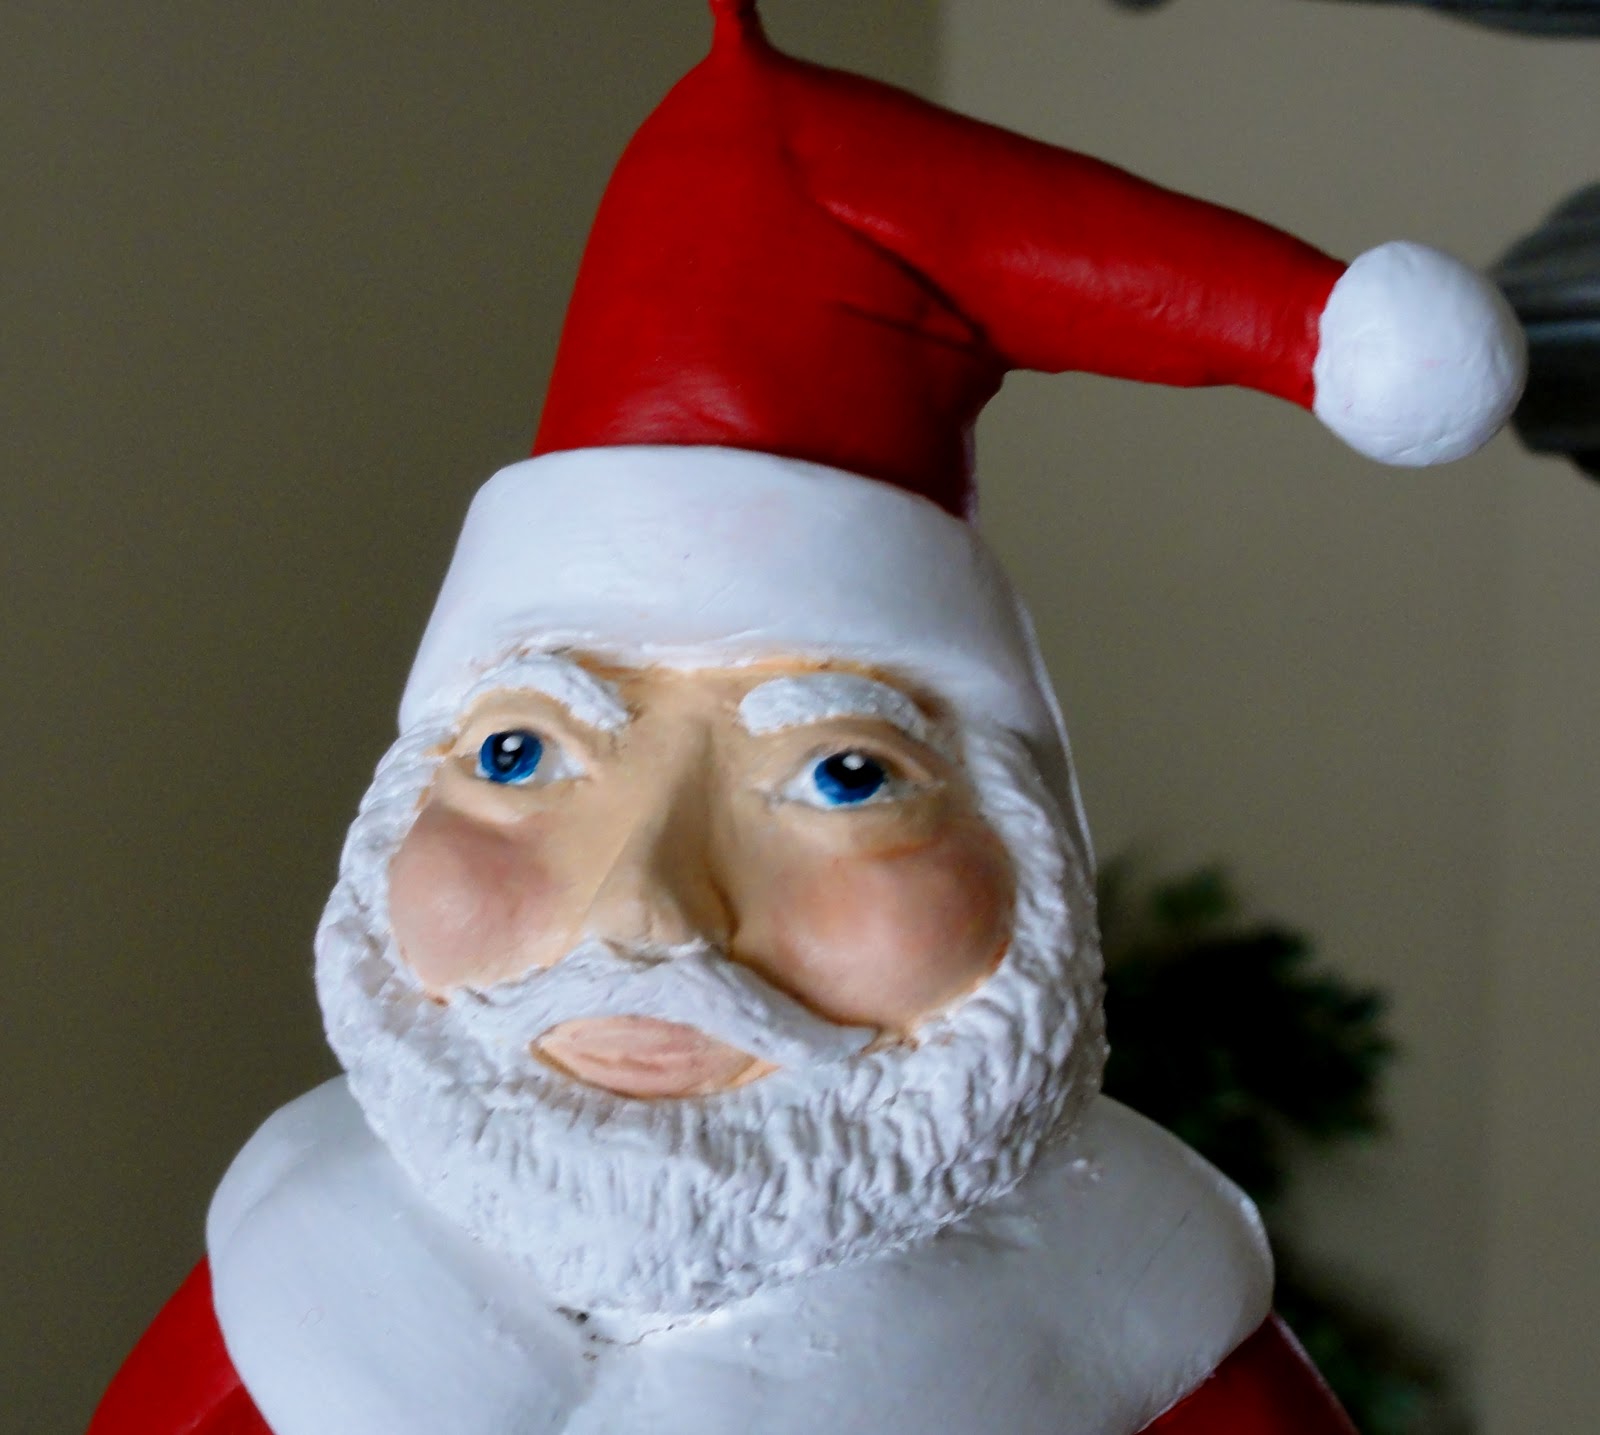
Update - People have asked how I made his textured beard, mustache & eyebrows. I added the shape of these things on his face, then lightly scratched the clay with a pin to create the hair texture. Really easy to do.
Leg on left in process. Right leg completed and waiting for clay.
6. Used same 12 gauge aluminum floral wire and tin foil to make the substructure of legs. Then formed legs and boots with paper clay. Let dry completely.
7. Sanded ornament thoroughly with fine grit sand paper.
8. Sealed ornament with Gesso and let dry. This is needed, since the paper clay is very porous.
9. Painted ornament and let dry thoroughly.
10. I signed and wrote the year on the inside (were legs hang from) of each ornament.
11. Applied 3 light coats of satin acrylic protective spray finish; letting dry completely between coats.
12. Attached ribbon to the top eye hook for hanging.
** TIP - For the last three Santa ornaments, I finished the top of the Santa ornaments completely (formed body with clay, let dry, sanded, painted and signed) and then covered the whole ornament with plastic wrap; poking the leg eye hooks through the plastic. I then started the legs. Once the legs were finished (substructure built, legs formed with clay, legs dried, sanded, painted and thoroughly dried), I ripped the plastic off and sealed the ornament with acrylic spray. I learned from the first three ornaments that those darn dangling legs were impossible to work around. They REALLY got in the way while painting, scuffing and transferring paint from the legs to the main body and back. This added TONS of touch up time to each ornament and made me pull out at least a few fistfuls of hair from the utter frustration.
I originally wanted to antique these ornaments, to bring out the facial features and the creases in his hat and coat. I unfortunately ran out of time though; barely finishing them up on Christmas morning. I really wish I would have had time to antiques them, since I think it would have given them more depth and character.
Here are pictures of the last 3 Santa's I made, before I added the top ribbon.
My favorite Santa
Santa #2
Santa #3 (a.k.a. - "The Big Faced Santa") on left
I made 6 of these ornaments. You can see the first three Santa ornaments, with hanging ribbon, in
this post. Sorry to say there is only 3 or 4 pictures in this post, but you can see how my technique improved as I made each one. By the time I made the last one, "my favorite Santa" (shown above), I really had the process and Santa's look down pat. It really was a learning process.
Blessings, Tracy